Consolidation made easy
GoSaaS has developed multiple CAD adapters to connect with other cloud or on-premise systems to streamline the process of Engineering and Product Design. The Creo adapter provides real-time, bi-directional integration and has the capability to push Part/Assemblies, Bill of Materials and Drawings. Our Creo adapter also has the capability to pull the component information from the model as well from the drawing.
The Creo Adapter is designed to be extensible. New systems and adapters can be implemented without any changes to the core framework.
The Creo Adapter provides standards-based inbound and outbound interfaces to receive and send messages so it can work with all major integration cloud platforms
The Creo Adapter are quick to deploy and does not require complex configurations to make it work.
All system configurations are stored in a repository which can be updated via the web-based administration interface.
The Creo Adapter maintains key information about message processing and tracks activities by audit log. The Management and Analytics module provides full system visibility using the web interface.
The Creo Adapter's modular design enables integrations to scale up to the participating system’s data volume and frequency.
CAD Designer will click on GoSaaS > Load to pull the existing design.
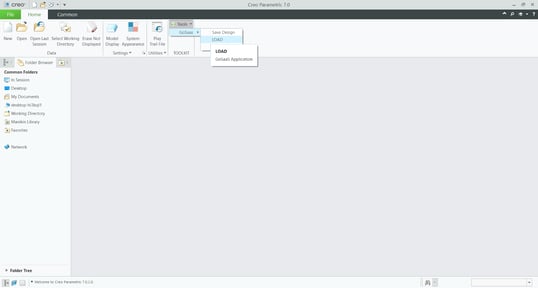
CAD Designer will enter Part Number / CAD Number to pull saved design object from GoSaaS Engineering Cloud Vault.
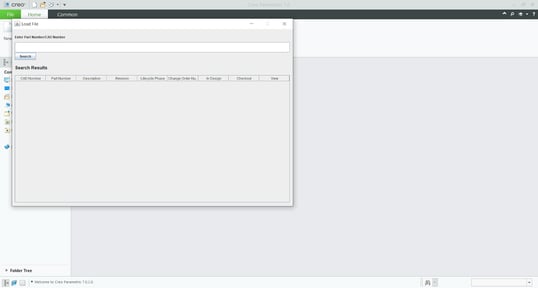
Search result will be displayed and the CAD Designer will click on View or Checkout the design object.
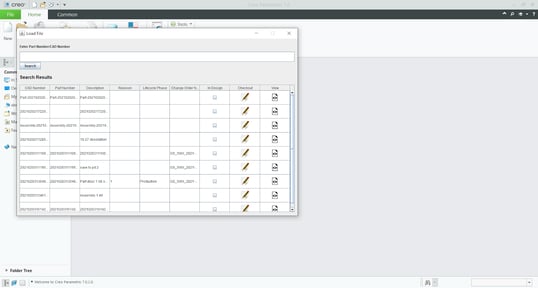
CAD Designer will open a CAD Part.
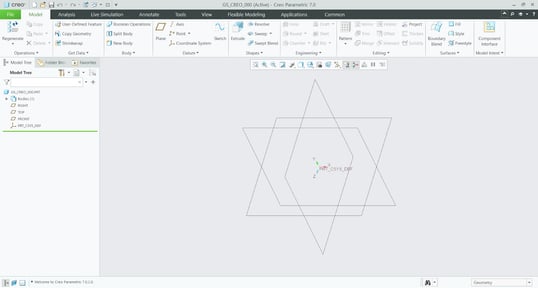
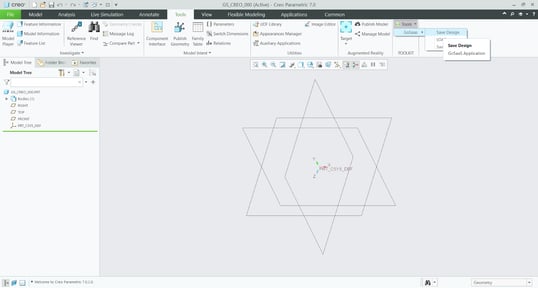
CAD Designer will click on Save Design to save in the GoSaaS Engineering Cloud Vault.
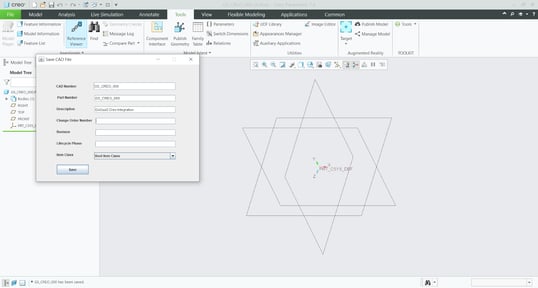
A model window will appear and the CAD Designer will provide the mandatory information and click Save. This will successfully save the meta-data and design file in GoSaaS Engineering Cloud Vault. Part Number can be placed manually and can also be left as blank to automatically generate the Part against the provided attributes in Oracle Cloud.
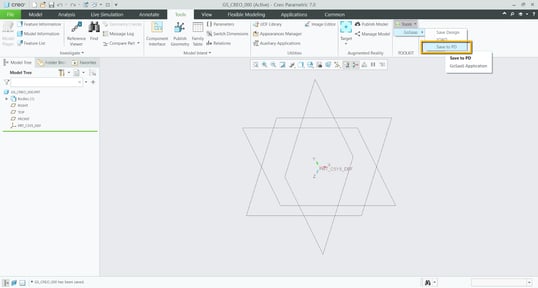
Once the design is finalized, CAD Designer will click on Save to PD to push the data to Oracle Cloud.
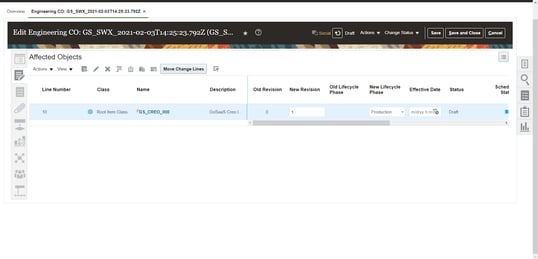
The Part will be placed on a change order as Affected Object
Find the right solution for your business
200 Spectrum Center Drive,
3rd floor, Irvine, CA 92618
1007 N Orange St. 4th Floor #503 Wilmington DE 19801
Phone: +1 (909) 300-5916
GoSaaS Canada, Inc.
1020 - 340 12 Ave SW,
Calgary, AB T2R 1L5
Phone: +1 587-968-2165
GoSaaS Malaysia Sdn. Bhd.
3A-1-13 Straits Quay, Jalan Seri Tanjung Pinang, 10470, Tanjung Tokong, Penang
Level 40 Mercu 2, KL Eco City No 3 Jalan Bangsar, 59200 Kuala Lumpur
Phone: +604-619-2749
Email: info@gosaas.io